


Cannagars are the ultimate 420 party favor because they burn practically forever and feature a ton of goodies that can amplify your high. They’re also great for cannabis connoisseurs because unlike blunts, they’re not rolled in tobacco leaves that taste harsh and contain nicotine. All you get is a clean, cannabis high.
What is a cannagar?
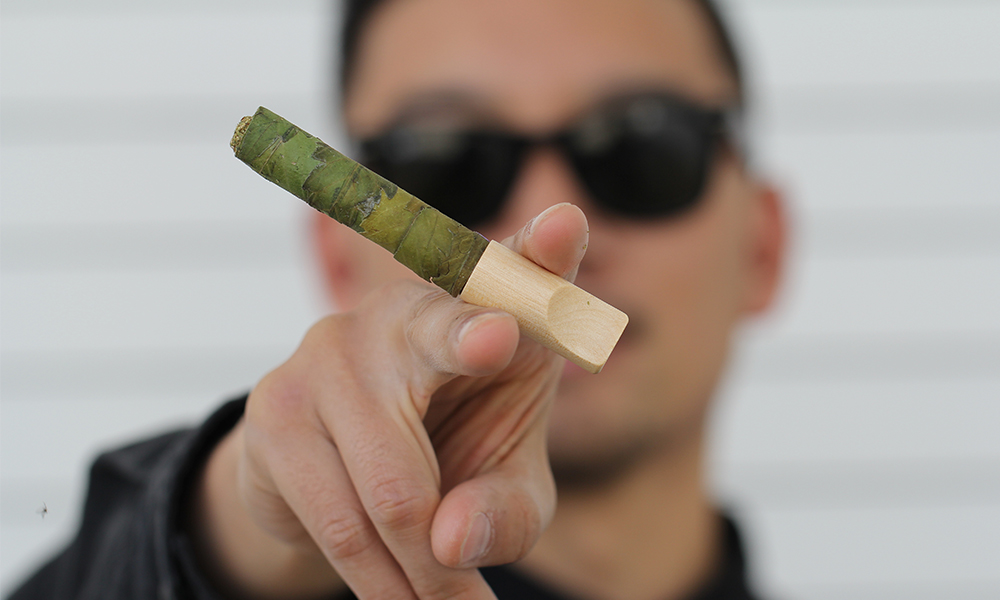
Just like cigars, cannagars come in all sizes and are made with a number of different cannabis products. They typically contain flower, cannabis oil and kief in a tightly packed formation that can last for hours at a time. However, you might be curious about how to roll a weed cigar on your own— especially if you’ve seen the shocking price tags on these little beauties at the dispensary. Have no fear though; they’re easy to make at home with the right materials. Here’s everything you need to know about making a weed cigar
Start by getting your materials ready
To roll a cannagar, you’re going to need a mold to help you form that tightly packed cannabis core. We stand by the cannagar molds by Purple Rose Supply. You will also need leaves or hemp wraps, high-quality bud, cannabis oil, and anything else you want to throw in there.
- Cannagar mold: Like regular cigars, cannabis cigars are tightly packed. In order to get your fluffy buds compacted enough to become a slow-burning cigar, you should utilize a mold. The cannabis mold by Purple Rose Supply is an easy system for packing your weed into a dense core. However, it also leaves a space for you to run a wick to ensure an even burn as you smoke. You can choose a mold in many different sizes. The larger the mold, the more flower and other materials you’ll need, but it will burn longer than smaller molds.
- High quality flower and kief: Since a cannagar is a long-burning product, you’re going to want to opt for a high-quality bud. Cannagars work best when you use the same strain throughout to ensure even compression within the mold. With that said, look for a supremely sticky strain. The more resin, the better your cannagar will stay packed. You’re going to need between 4-10 grams of it, depending on the size of the mold you choose. Feel free to stick some kief in there to boost potency and support a sticky core, too.
- Cannabis oil: Cannabis oil acts like the glue that sticks the whole cannabis cigar together, but it also plays a significant role in the flavor and quality of your smoke. Many people opt for distillate since it’s flavorless, but traditionally people will use another light BHO oil that still contains a few terpenes for flavor and potency. You’re going to want to have at least 3 grams handy if you’re going for a 10g cigar, but you may use less if you’re using a smaller mold. The oil helps stick the cigar together but also makes sure the cigar burns slowly and evenly.
- Fan leaves or hemp-based blunt papers: A traditional cannabis cigar is made with the fan leaves from indica-dominant plants since they’re broad and easy to roll. You’ll want to use leaves pulled from plants while they’re flushing since the curing process will eliminate a lot of the harshness. You can also use fresh leaves, but they might be a little harsher. If you (like most people) don’t have access to fresh water leaves, you can also use a hemp-based blunt wrap. They’re much more readily available and don’t contain any chlorophyll, so you’ll taste more of the cigar itself and less of the wrapping.
- Tools: Outside of your cannagar mold, you’ll want to have toothpicks, a rolling tray, a grinder, and hemp twine handy. While the tray and grinder are both self explanatory, toothpicks can be used like a skewer to move your cannagar around while you work on sticking everything together. Hemp twine is also extremely useful, but optional. The twine can help secure the product, keep your leaves straight, and make it easier to store.
How to roll a cannagar
Making a weed cigar is pretty straightforward when you’re using a cannagar mold. Here’s a step by step walkthrough on using a cannabis cigar mold to make the perfect cannagar.
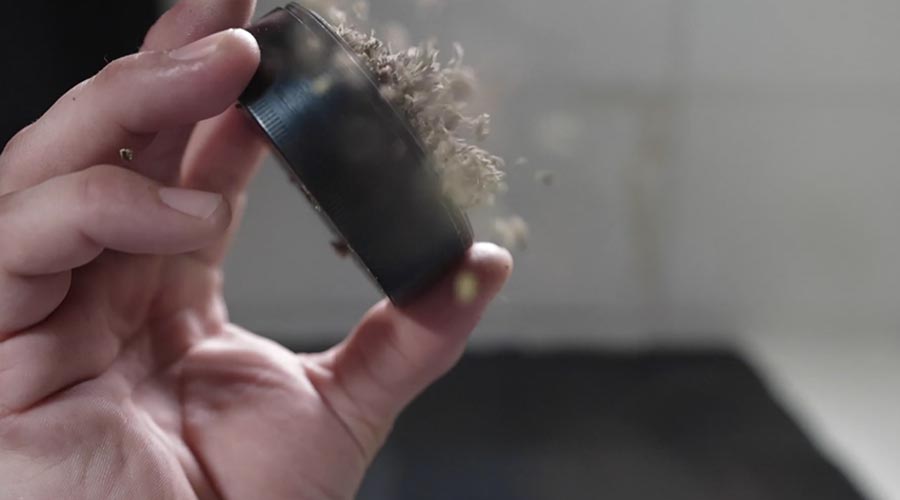
1. De-stem and grind your flower
The first step is the easiest but the most time-consuming. You want to make sure all of the stems are removed from your buds so that you don’t get stuck with any weird pockets or yucky stems when you form the core. Once you’ve removed the stems from your buds, run them through a grinder until you have a coarse but fine grind on the flowers. If you have a kief collector, make sure to dump that kief into your grind pile for a potency boost.
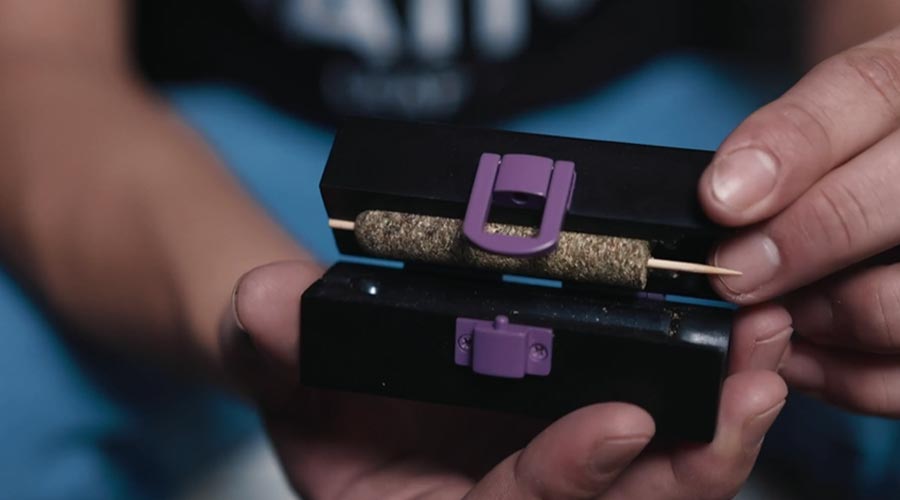
2. Prepare your mold and load it with flower
Using a Purple Rose Supply cannagar mold, start by latching the mold closed and inserting a skewer through the center into the hole at the bottom. From there you’ll take your flower and pack it into the mold using a packing tool. You’ll want to pack long and tight so that you have an even burn and a thick, sturdy core when it’s time to start assembling the cannagar.
3. Cure the cannagar mold
Once your core is filled, you can start curing the mold in a cool, dry place for a minimal of three hours. However, the longer you store it, the better-packed the core will be. Purple Rose Supply suggests storing the mold in a jar around 55-62% humidity for 48 hours. The longer the core is stored, the easier it will be to assemble since it will be more likely to keep its shape and taste smoother when everything comes together.
4. Remove the core and coat in concentrates
When the core is ready, unlatch the mold and separate the core, taking care to keep the skewer in position. By this point, the core should be a tight, smooth cylinder that holds its shape. If it isn’t you might need to pack it tighter and try again. If your cylinder is holding its shape, you can add your concentrates. You can use whatever concentrate you like, but you want it to be soft and sticky enough to seal your core when you begin rolling. That said, BHO from a syringe is usually the easiest to work with. Coat the cylinder thoroughly in a layer of your preferred concentrate.
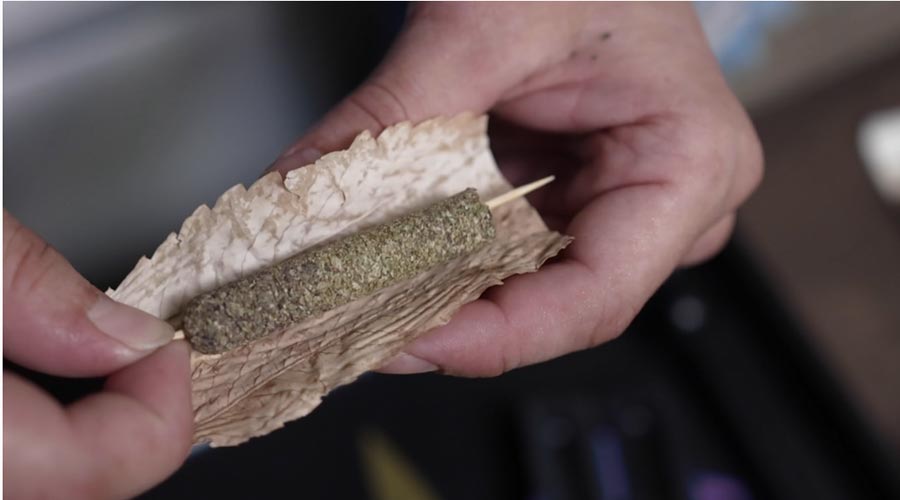
5. Begin wrapping your cannagar
If you’re using fresh or cured leaves, make sure you have a few on hand to work with. Make sure the leaves you use aren’t so dry that they crack. Once you have those handy, start wrapping them around the concentrate-coated cannagar core in a spiral pattern, similar to a candy cane. You might need to coat this layer in another layer of concentrates and repeat this process until your mold is completely and evenly coated with leaves. If you decide to use hemp papers instead, the process is much easier. You’ll just roll your cannagar core up like a blunt.
7. Seal the cannagar
Apply your final layer of concentrate and wrapping and ensure you have an even seal around the entire circumference of the cannagar. Holes in wrapping can lead to canoeing during burning, or worse, your cannagar falling apart during the final curing process.
8. Cure the cannagar
Just like regular cigars, cannagars will need a final cure once they’ve been wrapped. When you have your finished product, you’re going to want to store it in a cool dry place between 55%-62% humidity for another week. This final week will remove the chlorophyll and moisture from the fan leaves in the wrapping to reduce some of the harshness from your final smoke. It also gives the chance for the concentrates to really seal your wrapping and help the cannagar maintain its shape before you smoke it.

9. Puff and pass
When the curing process is finished, you can remove the skewer from the center of your cannagar and smoke up. Light the end of the cannagar evenly using a torch and puff until you have an even cherry formed at the end. Don’t get cannagars confused with blunts or joints though. They are formed just like cigars, and so they’re not really meant for inhaling. Place your mouth over the whole cigar end and draw smoke into your mouth without inhaling. Trust and believe, you will still get ripped. You just won’t have to deal with a really harsh burn or super hot smoke. Pass it around with friends or enjoy it by yourself. Like regular cigars, you can put it out and spark it back up as needed in the event it’s too strong for one go.
There you have it! Cannagars are so much easier (and cheaper!) to make at home when you have a cannagar mold handy. Made for parties and connoisseurs alike, a cannagar is the perfect addition to any social gathering or elevated personal smoke sesh. Knowing how to have a few on deck is a great way to keep you elevated to the max.


