Glass pipes are some of the most popular smoking implements for many reasons. Glass is a totally inert material that will not leach toxic compounds or unwanted flavors into your smoke, allowing you to enjoy only the pure flavor of your weed. For a smooth, flavorful smoking experience that retains all the character of that good bud you paid so much money for, glass simply cannot be beat.
Most glass pipes are made in carefully-controlled factory settings where precision equipment, materials, and processes result in uniformly high-quality products with practically no deviation in dimensions and finishes. But there are also many handmade pipes available on the market that feature less precise construction, but are no less durable and attractive.
If you have the right equipment, you can probably make your own glass pipes at home. Keep in mind, however, that you will be working with very high temperatures and molten glass, and there is a risk of burning yourself seriously. Before undertaking such a procedure, you make sure you have the requisite safety equipment and that you thoroughly research the process. Take note that this article is NOT meant to be a definitive step-by-step guide on how to make a glass pipe, but rather just an informational article that may encourage you to do further research.
That having been said, here are the steps that go into making a hand-blown glass pipe.
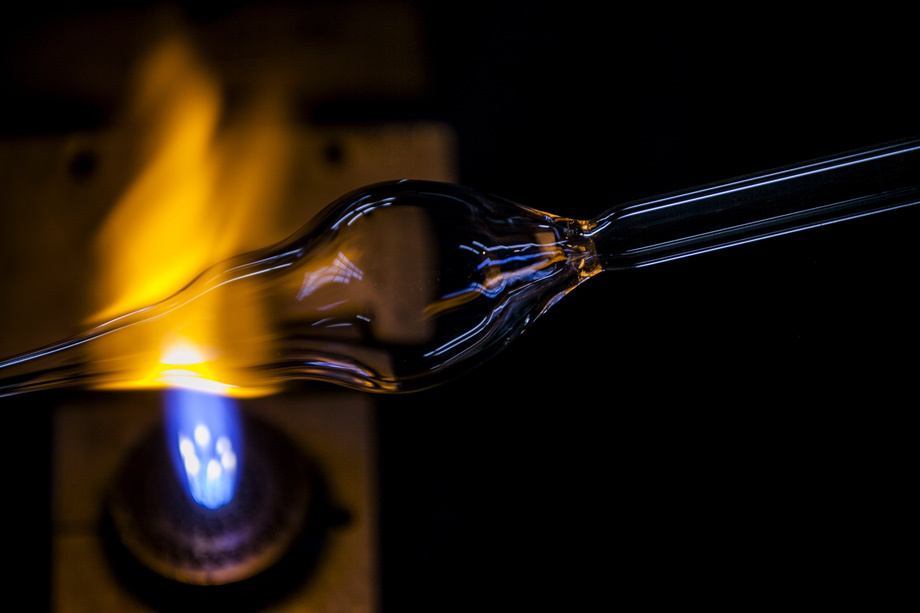
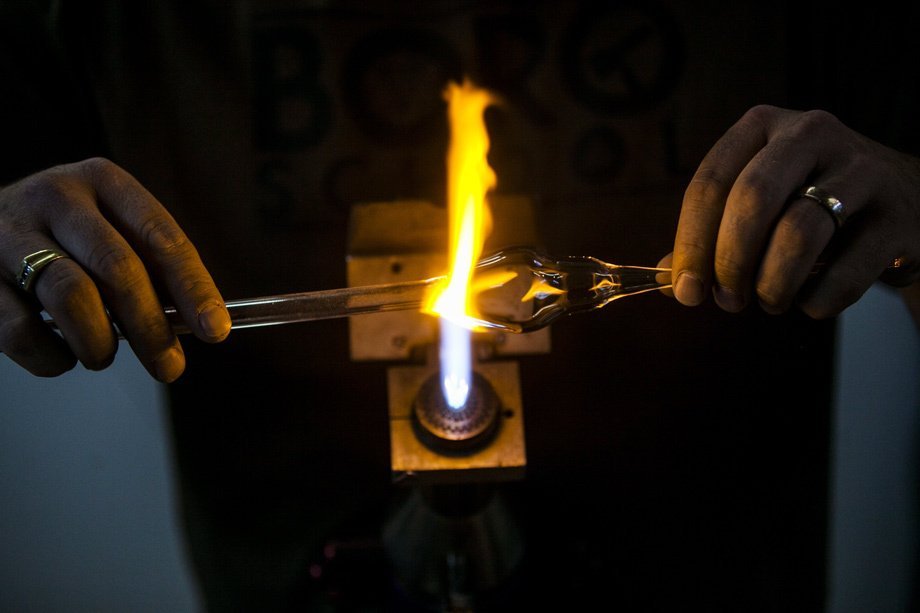
The first step is to take a borosilica tube with one end in each hand. Hold the center above your torch until it begins to soften.
Gently pull both ends apart until the center stretches and is reduced in diameter. As you do this, it is important to keep the center of the tube symmetrical so the glass will be easier to work with later on. Try to pull the ends apart evenly and avoid twisting them. It can be difficult to get this right at first, but you should be able to get it fairly even after a bit of practice.
As the center of the tube gets thinner, you can simply break it apart. The new ends where the break occurs – which is now the narrower section of the tube – will serve as your handles and later, the mouthpieces of the pipe.
At this point, you may add color to the glass if you wish.
Next, seal one end of the tube by applying heat to it. This will allow you to blow into the tube from the other end, thereby forming the bowl.
To actually form the bowl, you will have to heat the larger, sealed end again by blowing into the tube from the other end. Make sure to apply the heat evenly so that the bowl forms evenly as well. Now you can twist off the handle.
The next step is to heat the bowl in order to fashion a depression. For this, you will need to use a 5/8″ carbon rod with a rounded end. You may also opt to add a carb at this point.
Heat the mouthpiece area of the pipe and pull the glass and break it. Cut off any jagged edges and apply more heat to smoothen the mouthpiece.
Finally, place your pipe in a kiln and leave it for 15 minutes at 1040°F in order to anneal the glass.


