There are many types of seed used to grow cannabis. Some create male plants, some female, some hermaphrodite, and each has its role in the breeding process.
And then there are autoflowering marijuana plants. But what are they, how are they grown, and what exactly is the point?
Autoflowering strains are designed to grow indoors during seasons when a normal outdoor garden can’t produce a quality harvest. When marijuana is cultivated outdoors, its growth depends on the quality and quantity of daylight. Plants do better in the tropics because sunlight there is intense and consistent year-round.

In cooler zones, outdoor farmers are constrained to summer; by autumn there is no longer enough light in the day. This is what makes indoor autoflower grows so popular in the United States and other northern climes.
Instead of blooming mid-summer, when outdoor sunlight is ideal, autoflowering plants bloom automatically, usually two to four weeks after sprouting. This allows greater control over the cultivation process and makes it possible to grow more weed.
But how to grow autoflowering seeds? Here’s a brief explainer.
First, here’s what you’ll need: “feminized” autoflowering seeds; a germinating kit; a bucket or pail that holds 5-15 gallons (with holes in the bottom); enough cannabis-friendly soil to fill your bucket to 3/4; and lights adequate for a standard indoor grow.


Once you have your supplies, follow these steps to cultivate your seeds:
1. Germinate your autoflowering seeds using a germination kit. This is an easy process that requires only a cheap plastic kit and rockwool cubes. Germinate until a sprout starts to grow.
2. Put soil in the bucket until it’s 75 percent full. Even more soil is better, up to about 95 percent full. Of course, your choice of bucket will determine how much pot you’ll be able to grow.
3. “Flush” the soil by pouring a large amount of water onto it. This ensures the soil is damp throughout. Dry spots could block the growth of healthy roots.
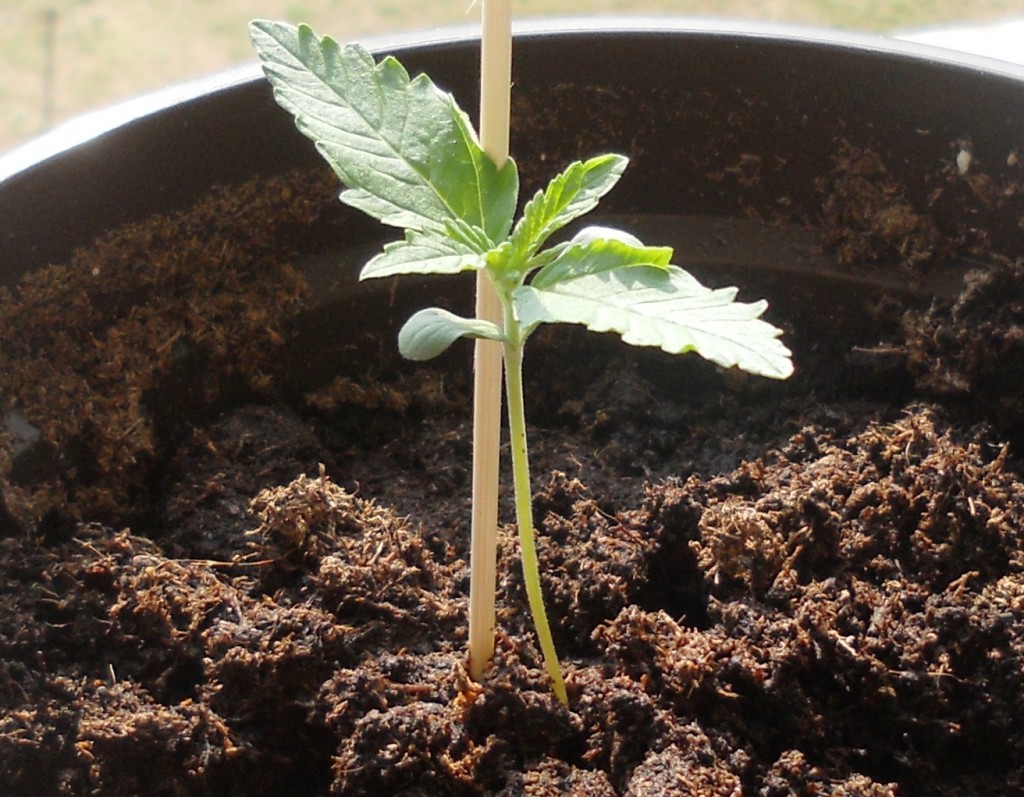
4. Dig a shallow hole in the middle of the bucket, deep enough to cover the seed and its sprout, and then carefully place the seed in the hole and cover it with soil. Make sure the head of the sprout pokes up from under the dirt.
5. Next, set up your lights. Place them above the plants, leaving 6 to 10 inches between the hot bulbs and the plant tops. Raise the lights as the cannabis plant grows taller.
6. Follow a set lighting schedule during your autoflower grow. This is usually 18 straight hours of light each day and six hours of darkness, or 12 hours of each.
7. Follow recommended steps for a standard marijuana grow. Water the soil as needed (check every day and add water if the soil feels dry). Keep the light consistent throughout the entire cultivation period.
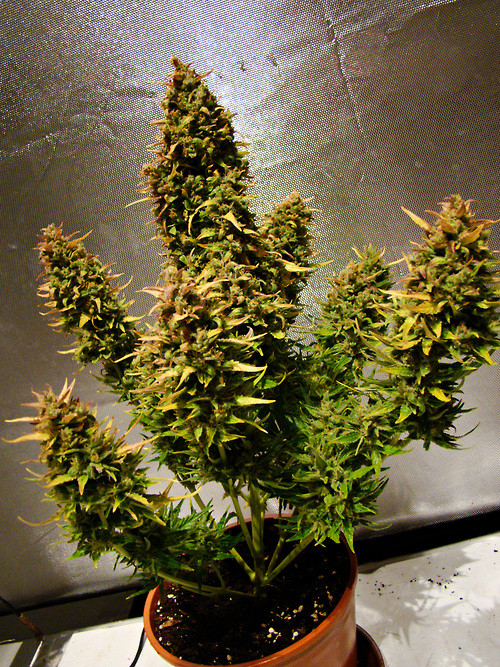
8. The final step in producing an autoflowering strain is to harvest the resulting bud after flowering is complete. Once bud start to blossom, you’ll have another 10 to 14 weeks before it’s ready to pick and process. You’ll know the time has come when you see a fine layer of white crystals on the bud.
And that’s how you grow an autoflowering marijuana plant. It’s no harder than growing any other type of cannabis seed, and it could leave you with an even better supply of dope. Give it a try!
—
Let us know: Have you ever grown a pot plant? What about an autoflowering plant? How did it go? Leave a comment.


Weed is not dope. I’m sick of these writers who put marijuana in the same category as fentanyl and meth.
Also, just because you may consume marijuana, doesn’t mean you do copious amounts.